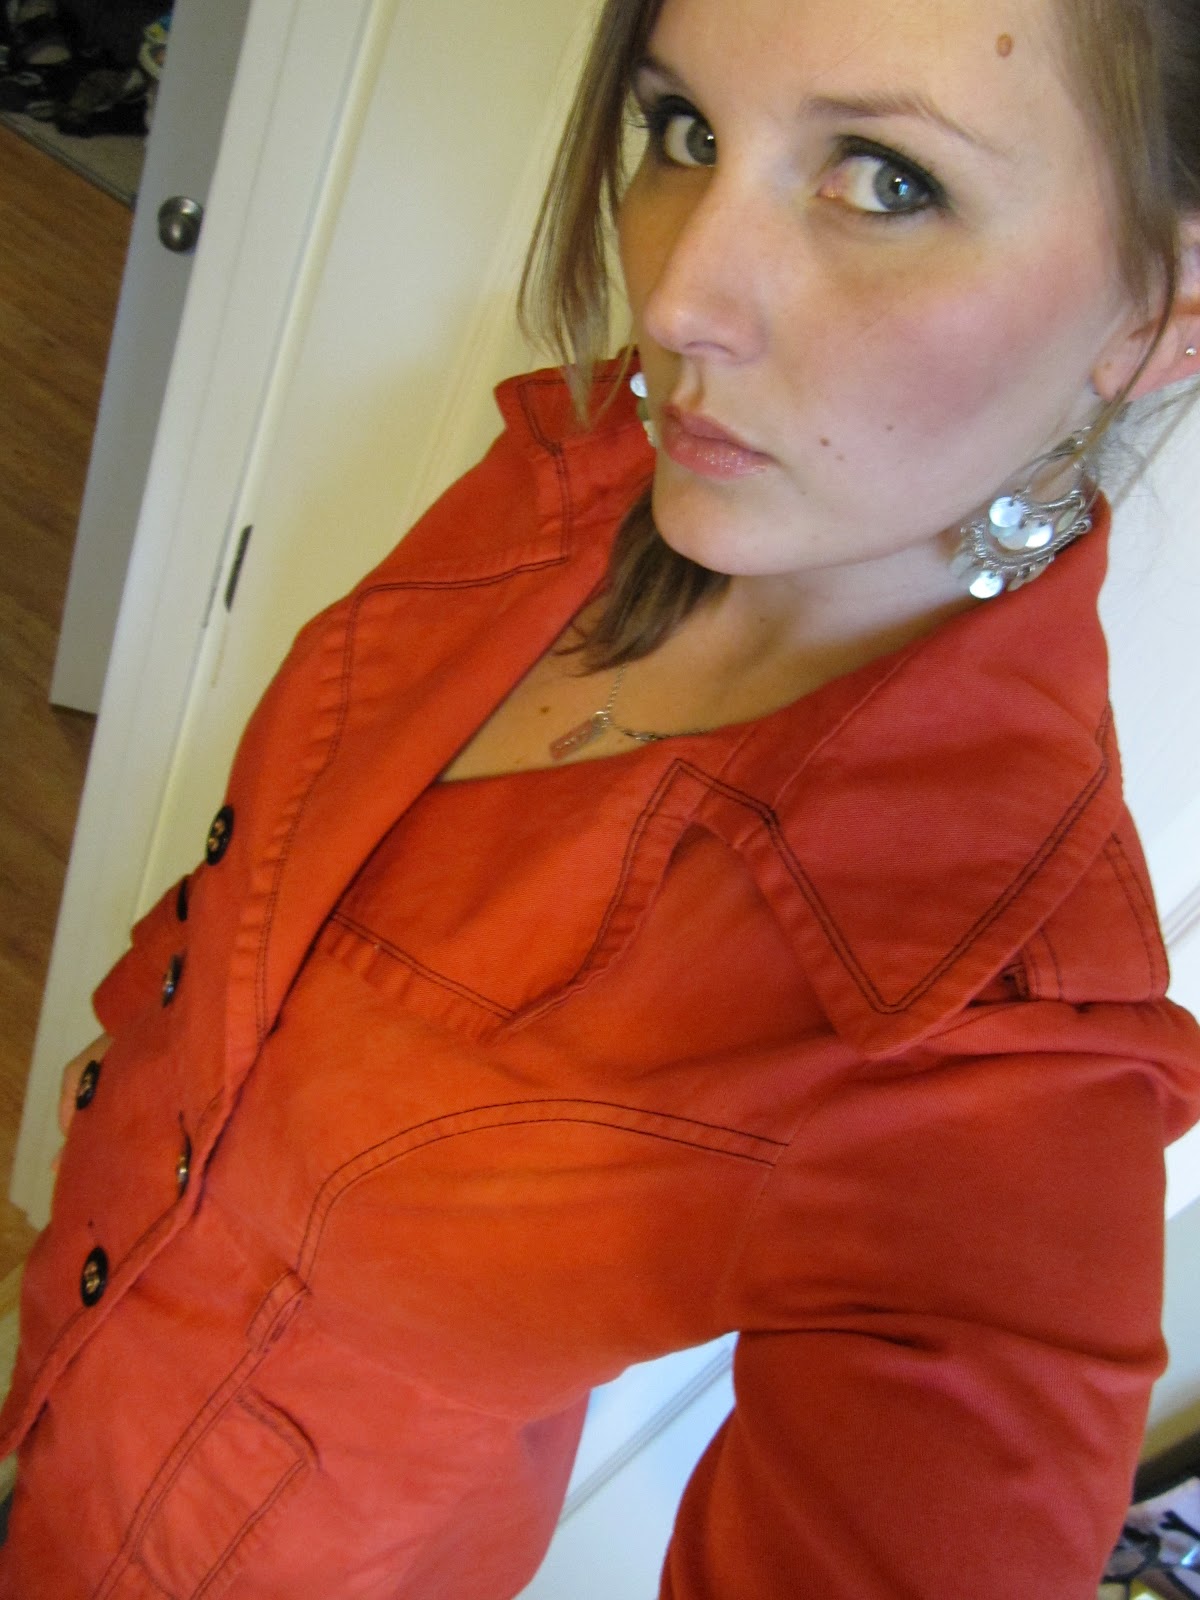
This was my little sisters peacoat that she was selling at our garage sale. It fit well but at the time I already had a black peacoat. I decided to try something new and bleach the CRAP out of it and then dye it.
I used a big bucket, placed 1 cup of bleach and then added hot water. I stirred it around then added my black peacoat. I then added more hot water till the water covered the peacoat by an inch. I let it sit for 2 hours. I would stir it around every 30 minutes or so just to make sure all the folds got bleached.
After two hours i disposed of the bleach water and rinsed the coat with hot water, then did it all over again TWO more times. I even let the coat sit in there over night. I know bleach eats away cloth but the coat held up great. Since it was black I had a long way to go to get it a light enough color to dye.
After bleaching it. I put it in the wash with hydrogen peroxide which counter acts the bleach. I dried it and this is what it looked like.
Not quite off white but it was a pale pale pink. I bought three boxes of Rit dye called Scarlet Red. I really wanted a Blood Red peacoat so I gave it a shot. I first only used one box of dye and followed the directions. It came out as a soft peach color. I then decided to try it again with two more boxes of dye. The directions specify to let it soak in the the dye bath for 30 minutes which I did about an hour, and I also added 1 cup of salt to the dye bath to help better dye the coat. The final product was a beautiful dark peach color (the computer makes it look orange, its not orange even though that would have looked good too. Not blood red as I originally wanted but I still love the color.
I cannot wait to wear this for FALL! I love my peacoats, scarfs, sweaters and jeans. :)


